Friday, March 31, 2017

How to base


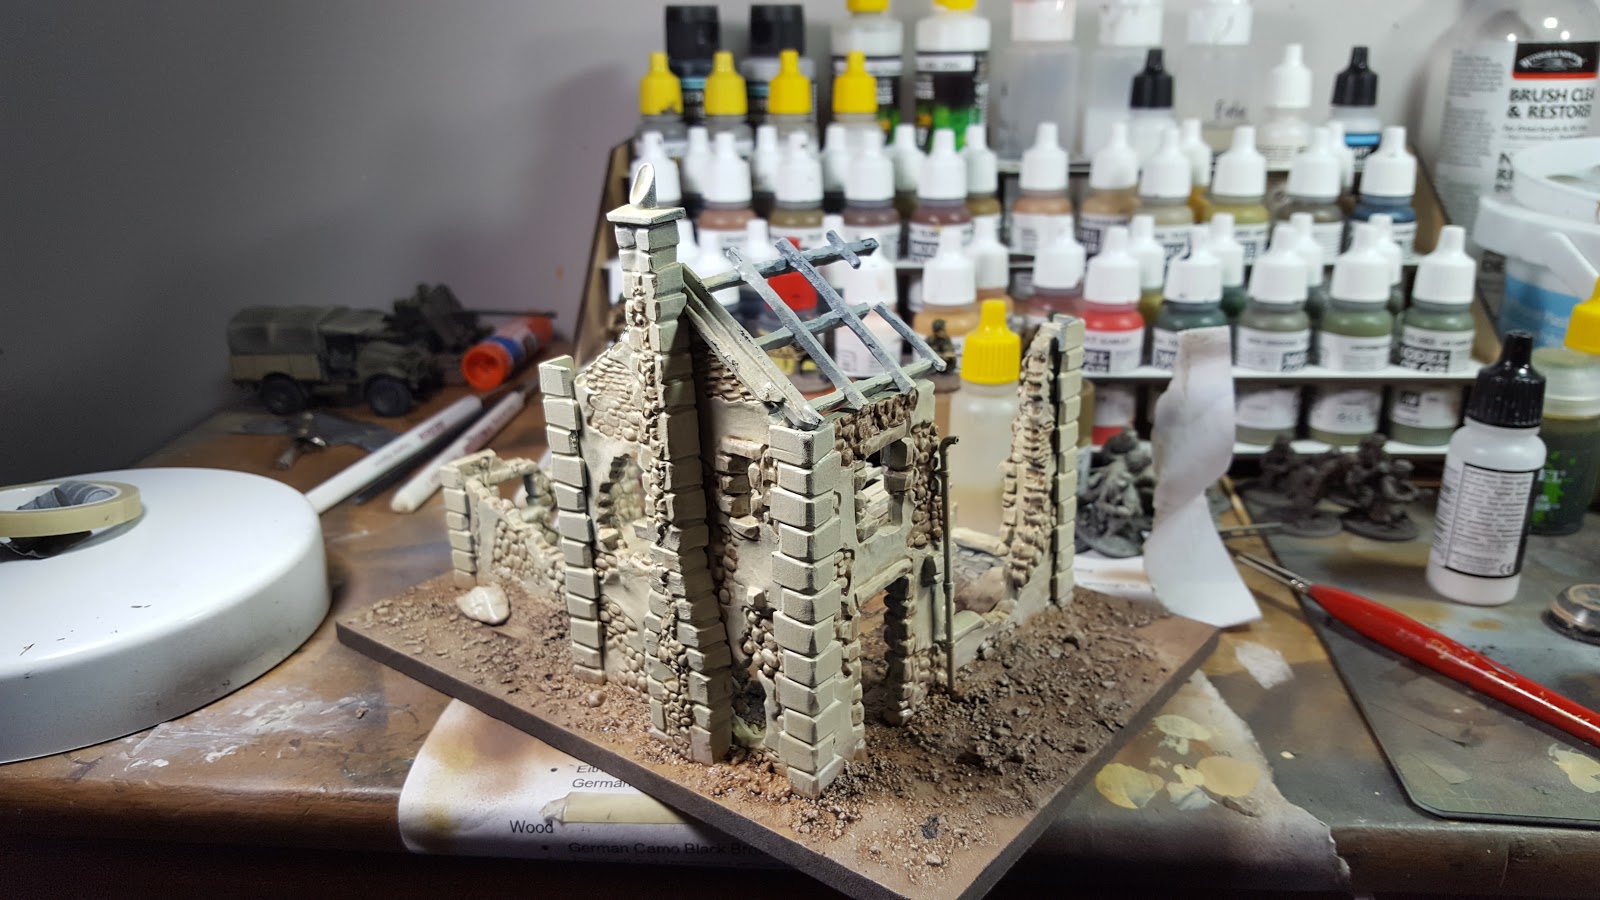
Gebirgsjager painted for a friend

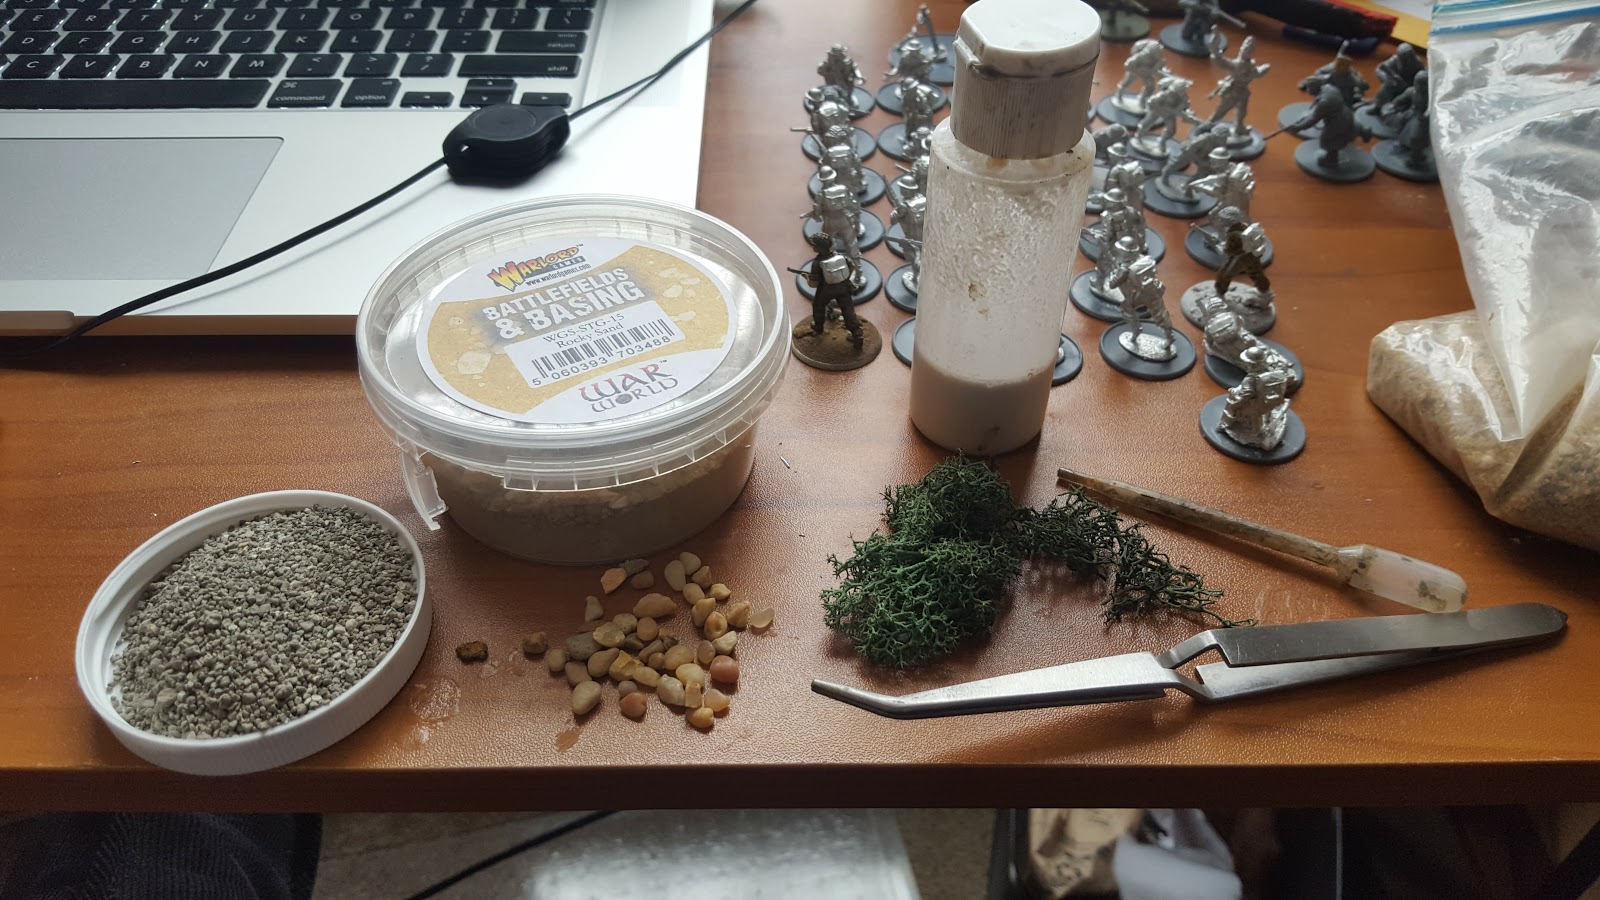
You will need a mixture of 1/3 wood glue and 2/3 windex.  If you don't have windex, you can use water but it won't work as well.  The windex decreases the surface tension of the mixture and helps it seep down into the basing material rather than pooling on top.  The easiest way to apply this mixture to the bases is with an eye dropper.  If you can get your hands on the warlord basing material pictured, I find it's a good enough mixture of sand and rocks that nothing needs to be added to it.  Otherwise, use a very fine sand with a little bit of kitty litter and tiny rocks mixed in.  Aquarium gravel works well.  If in doubt, smaller materials are better.  I tear a few small pieces of lichen or moss up to use for twigs on the bases.  You'll see more of that later on in the tutorial.

If in doubt - less is more and smaller is better.


Dip the base of the model down into the sand.  Lift it up, and gently tap off the excess.  The warlord lipped bases help with this tremendously.


Use a very soft, dry brush to push any dirt off the models boots like an archaeologist.  You can also flatten any little "hills" of sand that don't look right.


Use an eyedropper to drop the wood glue mixture onto the base.  If the wood glue is pooling too much and not seeping into the sand well, add a little more windex to the mix.  It's okay for some of the glue to get on the model's feet; I've never noticed it once it dries.  


At this point, or before you add the glue, you can add the lichen "twigs" if you want to use them.  Be sure they get soaked through with the glue mixture.


 Now we play the waiting game.  The bases will look dry before they are totally dry; make sure they cure for about 12 hours or overnight.  A few times, I've assumed the bases were dry only to blow them off the base of the model like a slimy, sandy pancake.  In the next tutorial, I will show how I paint these bases.


Sunday, February 12, 2017

Casino work in progress

Terrain for cassino is moving along.  I decided to gather as many of the warlord ruined hamlets from friends' starter sets as I could.  Between these and a few wrecked house kits, I was able to build about a dozen different buildings in various states of annihilation.  I picked up a bag of craters from Pegasus as well.  Craters in the town were a serious obstacle as they filled with rain water and blocked vehicles.  The Pegasus craters have nice detail but are flimsy, so they were mounted of 1/8 inch hardboard.  The buildings were mounted on 1/4 inch MDF.  Looking forward to getting the base colors on everything so the buildings can be weathered and scorched.


Monday, January 23, 2017

Churchill WIP 2

Made a little progress tonight.  The modulation and pin wash is finished and did some weather on the tracks.


Sunday, January 22, 2017

Churchill WIP

I received a lot of feedback from the Bolt Action Facebook group that I should really have a Churchill tank for my win-less British army.  I went with the Warlord Italieri kit because it included options to build just about every Churchill tank.  It's a decent kit; like most of the Italieri kits, it has a few extremely inconvenient seams and mold lines, including one that goes diagonally across the tank that I'm not going to fix.  I magnetized a petard mortar and a 75mm gun so I can swap between the two.  Went a little nuts on the stowage and tried some new things.  I made a lot of mistakes modelling the tie-down rope but I don't think it will be that noticeable when it's done.


Friday, January 13, 2017

Fallshirmjager

I brought my work-in-progress fallshirmjager into the game store to show them off to some buddies, get some obligatory positive reinforcement, and see how they look on the table.  I was surprised to see all the hard work I put into the splinter pattern camouflage evaporate when they were farther away than the distance from my eyes to my workbench.

I think there are basically two ways of painting camouflage.  The first method accentuates the shapes and colors, makes them bold, and allows you to see them on the table.  Patterns tend to be larger-than-life and darkly outlined.  The other method makes the colors more subtle, allows the shadow and highlights of the base coat to show through, and melts the colors together.  You're left with an impression of the colors and shapes without actually being able to pick them out from four feet away.  I was shooting for the latter, but I'm left wondering if I could have just left the jump smocks beige and not bother with the browns, greens, and rain-like streaks.
Will post a step-by-step soon.